Monday 10th March: Abstract modelling lesson, taught and planned by me 13:00 to 17:00
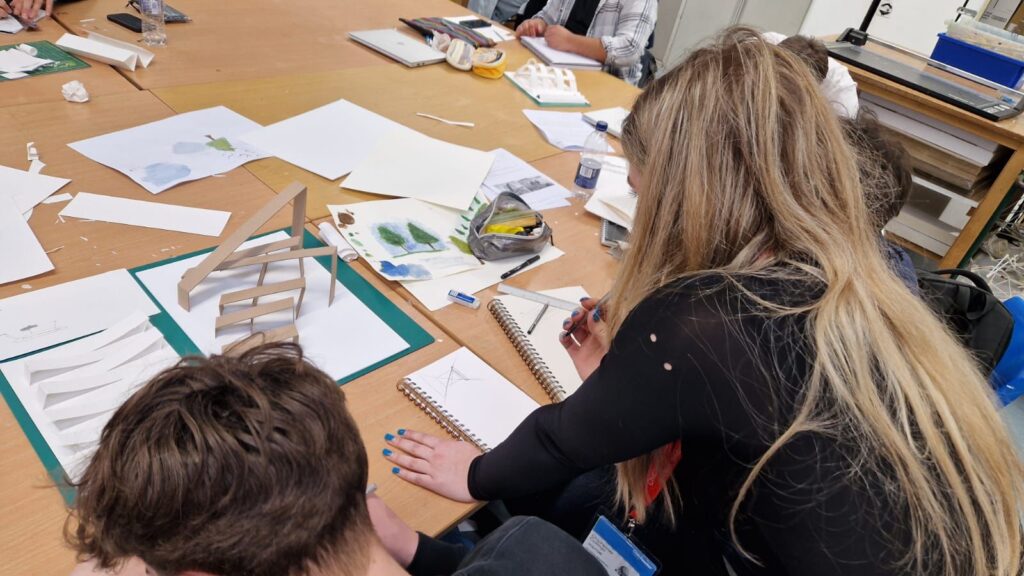
As mentioned in a previous blog post, the lesson I planned for the students focused on creating abstract models based on a new brief they were given. To help brainstorm ideas and visually analyse the brief, I wanted the students to create physical abstract models that represented their concepts. This approach would enable them to develop their ideas further and showcase a variety of media explored within their portfolios, as required by the marking scheme.
Below is the lesson plan, now accompanied by reflections on each task:
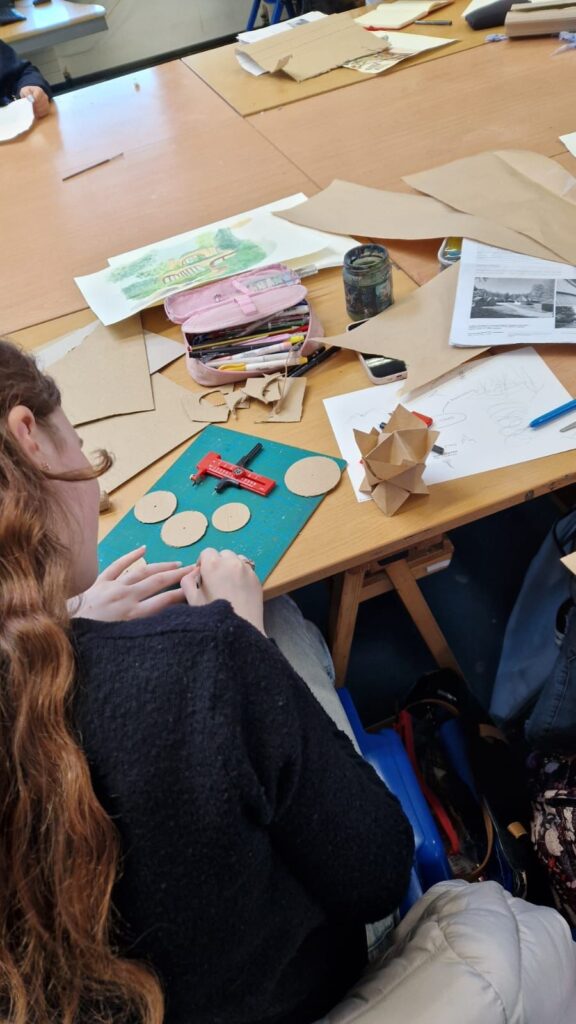
To assist students in researching the brief efficiently, I advised them to create mind maps. This would help the students quickly generate key terms and show connections to the brief visually
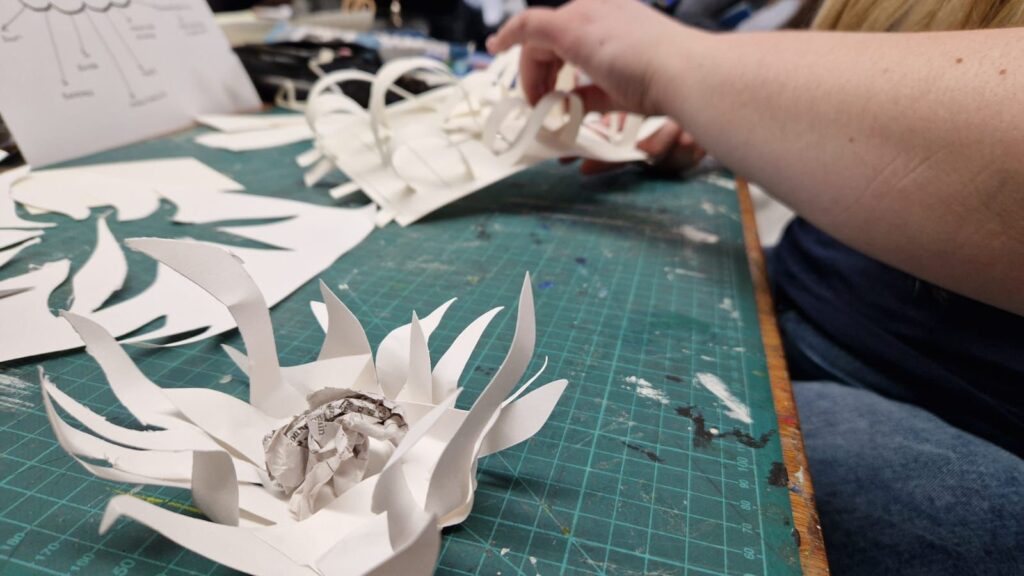
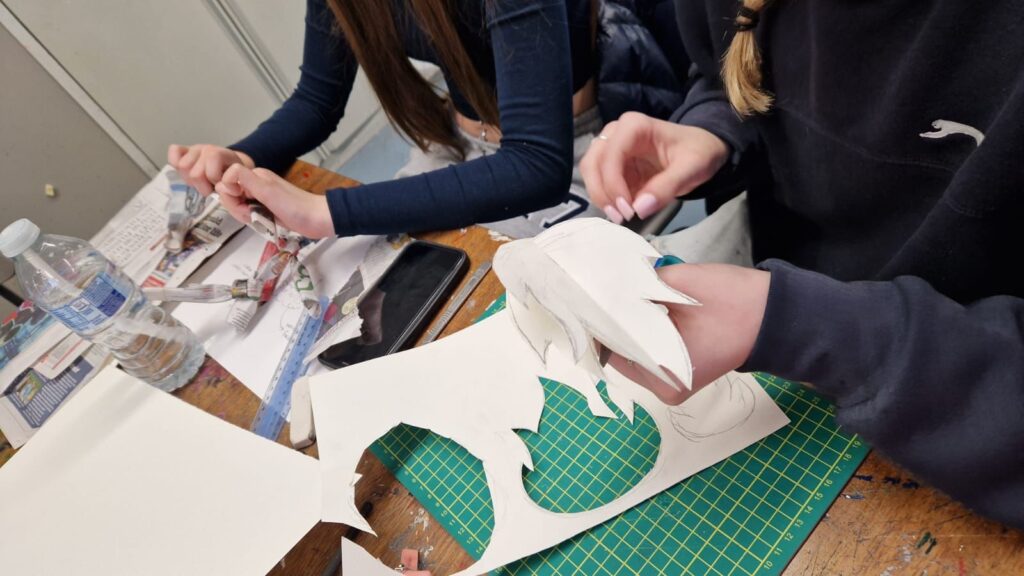
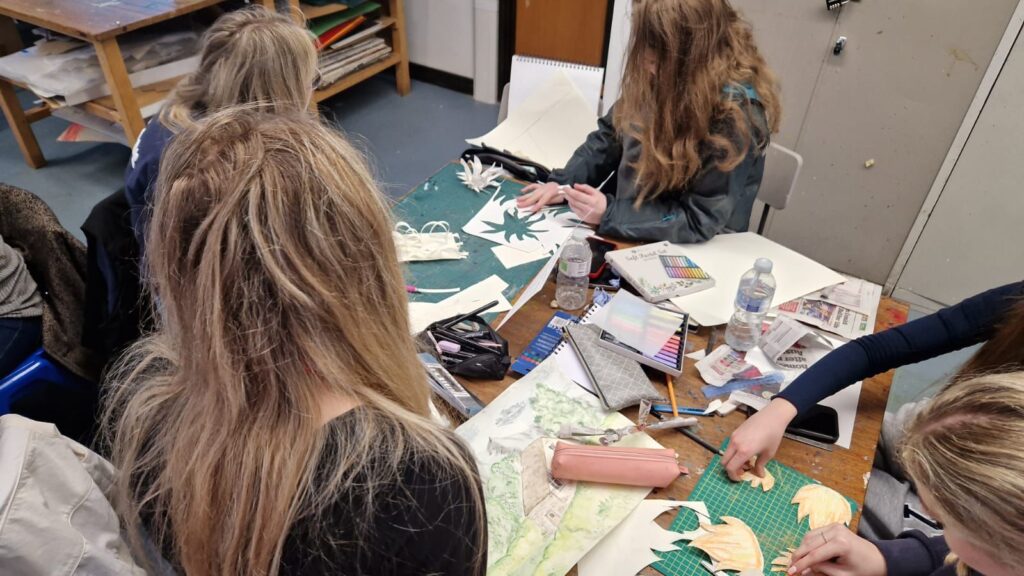
Students were instructed to use recycled materials to avoid wasting valuable resources. The goal was to create models without any adhesives, encouraging more origami-based designs. Due to limited materials in the studio, I decided to provide only white card, ensuring that all students had the same resources to work with.
Although I aimed to mix up the groups so students could collaborate with peers they hadn’t worked with before, this did not go as planned. Next time, I will assign the groups myself.
Many students were hesitant to present and did not want to stand or share their ideas. I realized that I hadn’t given them enough time to discuss as a group what they wanted to say. In future lessons, I will allocate additional time for group discussions before presentations.
This part was successful, allowing students to examine their peers’ creations more closely and sparking numerous discussions.
Students faced challenges in combining their multiple models, but with guidance in identifying their favourite aspects and those they wished to discard, this task ultimately proved successful.
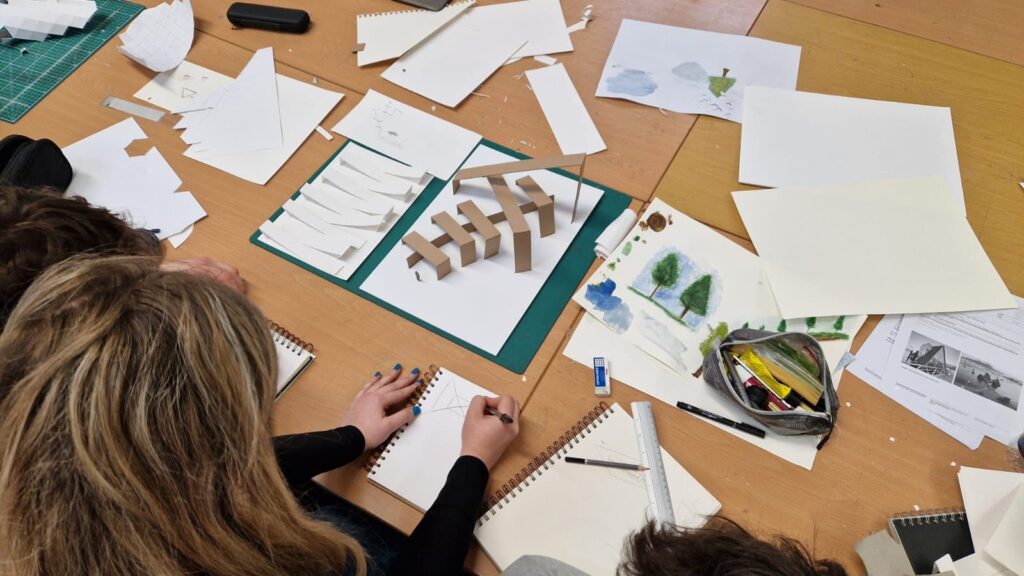
Students completed this task quickly and efficiently, prompting them to consider what they envisioned their model to be—whether it was a furniture piece, a building, an object, or a render.
Building on Ian Dixon’s tutorial, I advised students to render their drawings using watercolours to deepen their understanding and practice the technique more thoroughly.
This added step allowed students to consolidate their ideas as a group before presenting in front of the class.
With the extra preparation time, presentations were much more successful. Asking students to stand allowed their peers to hear them more clearly and view the models more effectively.
Students found this task easy to follow, using the backdrop area to capture clear images with good lighting.
This was well received, and students began to ask questions about university life, such as the workload and difficulty. I explained that if they attend lectures, stay dedicated, allocate time for each module, and keep up with their assignments, it will be much more manageable than waiting until the last minute and allowing work to pile up.
Overall, the lesson was a success, and the students were enthusiastic about creating their models and following each step required. In reflecting on my teaching, I noticed that although I provided verbal instructions, there was some confusion regarding timings and next steps. To prevent this in the future, I will create a visual plan for the students to reference throughout the lesson. Aside from that, the students were engaged and produced intriguing models that helped them develop further.